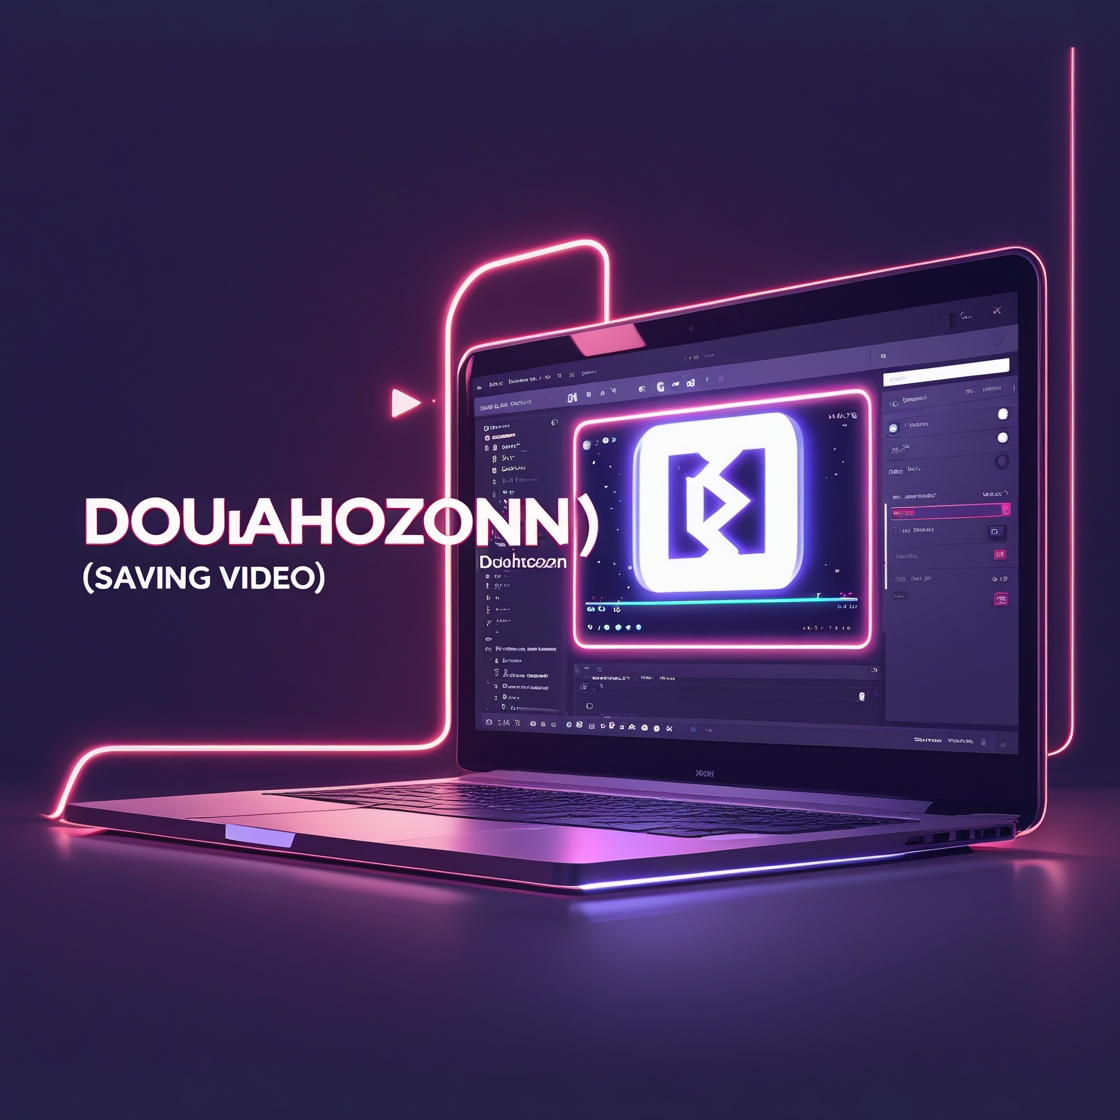
Blender is widely recognized as one of the most versatile and powerful open-source 3D creation tools. While it’s popular for modeling, animation, and visual effects, one step that often confuses beginners is saving their work as a proper video file. In Japan, the term Dougahozonn (動画保存) literally translates to “video saving,” and in the Blender context, it refers to the process of exporting finished animations into playable formats like MP4 or AVI. This guide is designed for U.S.-based creators who want an in-depth, practical explanation of how to successfully use Dougahozonn in Blender.
By the end, you’ll not only know how to export your videos but also understand which settings will give you the best results for platforms like YouTube, TikTok, or professional showreels.
Quick Information Table for Dougahozonn Settings
| Setting | Recommended Choice (U.S. Creators) | Notes |
|---|---|---|
| Resolution | 1920×1080 (HD) or 3840×2160 (4K) | Higher resolution means larger files |
| Frame Rate | 24fps (cinema), 30fps (online), 60fps (games) | Match platform expectations |
| Container | MP4 | Most widely supported |
| Codec | H.264 | Excellent balance of quality and size |
| Audio | AAC | Works across devices and platforms |
.
This table is a quick reference for beginners who need immediate answers while performing Dougahozonn in Blender.
What Does Dougahozonn (動画保存) Mean in Blender?
Dougahozonn is essentially the final step in Blender’s creative workflow. Once an animation or project is complete, you need to convert the rendered frames into a usable video file. Without this step, your work remains as individual images or uncompressed data that isn’t practical for sharing or playback. For artists in the U.S. and around the world, Dougahozonn is the bridge between your creative vision and a polished final product. Understanding it means you’ll avoid common pitfalls, like ending up with black screens, files too large to upload, or videos that lose quality after rendering.
The Importance of Choosing the Right Export Format
When working with Dougahozonn in Blender, the choice of export format is critical. For example, MP4 is widely considered the most convenient because it balances quality and file size, making it perfect for platforms like YouTube or Vimeo. AVI files, while offering high quality, can be extremely large and harder to manage. MOV files are favored in professional editing environments, especially for Mac users, but they aren’t always necessary for general use. Selecting the right format early saves time and ensures smooth playback across devices. The decision should always be based on your audience and the purpose of the video.
Step-by-Step Guide to Dougahozonn in Blender
Performing Dougahozonn may sound technical, but the process becomes straightforward with practice. First, set your output properties by defining the resolution—1920×1080 for standard HD or 3840×2160 for 4K. Next, select the frame rate. For most U.S. content, 24fps is cinematic, 30fps is common for online content, and 60fps works well for smooth gaming or action clips. Once resolution and frame rate are established, go to the Output panel and select a folder to save the rendered file. Then, in the Encoding section, choose a container (like MP4) and codec (like H.264). Finally, hit Render Animation to begin the Dougahozonn process. Each frame is processed and combined into your finished video.
Common Mistakes to Avoid During Dougahozonn
A frequent error among beginners is exporting without adjusting default settings. For example, Blender’s default file format might be an image sequence rather than a video, which confuses many users. Another mistake is choosing lossless codecs that produce massive file sizes, making them impossible to upload to social platforms. Audio syncing issues are also common, often caused by mismatched sample rates between Blender and the original audio file. By double-checking these settings before hitting render, you’ll avoid frustration and wasted hours.
Advanced Export Settings for Professional Results
For creators who want maximum control, Blender offers advanced options. Using FFmpeg, you can fine-tune bitrates, apply different compression levels, and even set custom pixel aspect ratios. These features are particularly valuable for professional projects, where every detail matters. For instance, setting a higher bitrate can improve clarity for complex animations, while lowering it ensures faster uploads without noticeable quality loss. U.S.-based professionals creating videos for streaming platforms or advertising campaigns will benefit most from exploring these advanced settings.
Optimizing Exports for YouTube and Social Media
Many American creators primarily publish content on YouTube, TikTok, or Instagram. Each platform has specific requirements for video uploads. YouTube recommends MP4 with H.264 encoding, a high bitrate, and stereo AAC audio. TikTok favors vertical videos at 1080×1920 resolution, while Instagram supports square and landscape formats. When performing Dougahozonn in Blender, tailoring your output settings to match the platform saves time and ensures your content looks professional right away. By preparing the right format upfront, you’ll reduce the risk of re-exporting and meet platform guidelines seamlessly.
Speeding Up the Dougahozonn Workflow
Rendering and exporting can take significant time, especially on complex projects. However, there are practical ways to speed up Dougahozonn in Blender. Lowering preview quality during test renders, enabling GPU rendering if supported, and reducing unneeded background elements all help. For U.S. users with limited hardware, using render farms—cloud-based services that process projects—can dramatically cut down export times. Investing in a capable graphics card is also one of the most effective long-term solutions for faster video production.
Real-Life Example: A Beginner to Pro Export Journey
Consider Sarah, a U.S. college student studying animation. When she first started using Blender, her Dougahozonn attempts resulted in oversized AVI files that her laptop could barely play. After researching, she switched to MP4 with H.264, adjusted her resolution to 1080p, and suddenly her videos exported smoothly and uploaded to YouTube in minutes. Today, Sarah runs a growing animation channel, and understanding Dougahozonn was the turning point. Her story demonstrates how mastering this step transforms frustration into confidence and efficiency.
Final Thoughts
Dougahozonn, or video saving, is more than just a technical step in Blender—it’s the process that allows your creative ideas to reach an audience. By understanding export formats, mastering step-by-step workflows, and avoiding common mistakes, you’ll consistently produce professional-quality videos. Whether you’re a beginner experimenting with your first animation or a professional polishing content for clients, Dougahozonn ensures your work is seen and appreciated in its best form. For U.S.-based creators aiming to thrive on platforms like YouTube, TikTok, and beyond, mastering this skill is not optional—it’s essential.
Frequently Asked Questions (FAQs)
1. What does Dougahozonn (動画保存) mean in Blender?
Dougahozonn translates to “video saving.” In Blender, it refers to exporting animations into playable video formats like MP4 or MOV.
2. Which video format is best for YouTube uploads?
MP4 with H.264 codec and AAC audio is the ideal choice for YouTube. It provides excellent quality with manageable file sizes.
3. Why is my Blender export showing a black screen?
This usually happens if the wrong render engine is selected or if output settings aren’t configured correctly. Ensure you’ve set the right output folder, codec, and resolution.
4. Can I export videos with sound in Blender?
Yes, but you need to add the audio track in the Video Sequencer, then ensure that audio encoding (such as AAC) is enabled in the export settings.
5. How can I reduce export time for complex animations?
Enable GPU rendering, use optimized settings, or consider cloud-based render farms. These methods can significantly reduce export times for demanding projects.